DIY shelving is a fun and creative way to make your space both stylish and organized without spending a ton of money! You can customize shelves to fit your personal style, whether you prefer rustic wooden looks or sleek modern designs. With just a few simple tools and materials, you can craft shelves that are not only functional but also eye-catching. Plus, the pride you’ll feel in showcasing your handiwork is unbeatable. Stick around to discover even more tips and ideas!
Key Takeaways
- Repurpose Materials: Use reclaimed wood or old furniture to create unique, cost-effective shelving solutions that add character to your space.
- Minimalist Designs: Opt for sleek, modern shelves using plywood or metal for a contemporary look that complements any decor.
- Custom Sizing: Measure your space carefully and cut wood to fit perfectly, ensuring your shelves meet your specific needs and style.
- Easy Installation: Use simple brackets and follow easy installation steps, making the process accessible even for DIY beginners.
- Aesthetic Finishes: Stain, paint, or incorporate glass elements to elevate the visual appeal of your shelves while keeping costs low.
What Are the Benefits of DIY Shelving?

When you think about sprucing up your space, DIY shelving can be a game-changer! Imagine transforming a dull corner into a cozy reading nook or a stylish display area. The best part? You get to customize it to fit your style! DIY shelving isn’t just fun; it also saves you money. You can use materials you already have or find affordable supplies. Plus, you’ll feel a sense of pride when friends admire your handiwork. It’s like saying, “I made that!” And let’s not forget the bonus of decluttering! You’ll create a neat space to showcase your favorite books, plants, or quirky collectibles. So roll up your sleeves, grab some supplies, and let your creativity shine!
What Tools Do You Need for Your DIY Shelving?
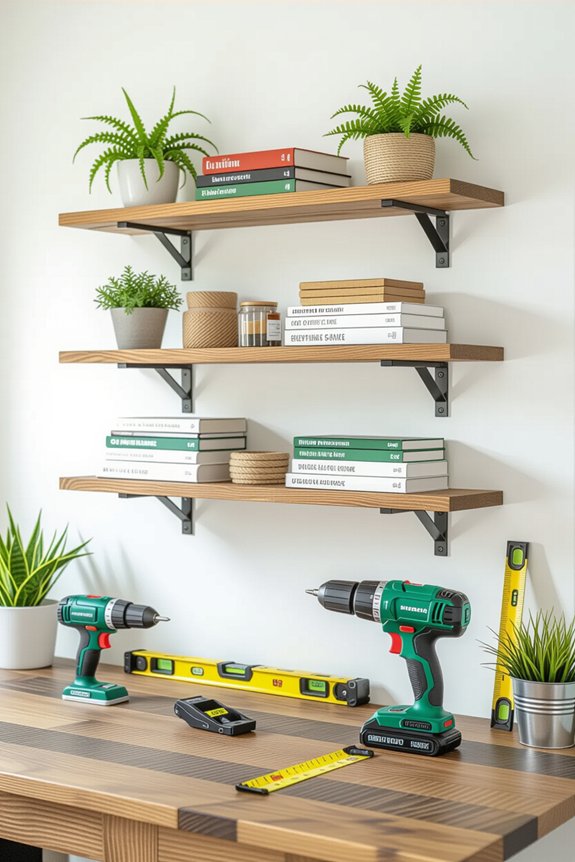
Gathering the right tools is essential for your DIY shelving adventure, and don’t worry—it’s easier than you think! To kick things off, grab a tape measure to confirm your shelves fit perfectly. A level will help keep everything straight, because nobody wants a wonky shelf! You’ll also need a drill for those holes, along with screws to hold everything together. A saw can be handy if you’re cutting wood, and don’t forget safety goggles—safety first, right? A pencil helps mark your measurements, and a stud finder guarantees your shelves are super sturdy. With these tools in hand, you’re ready to turn your shelving dreams into reality. Let’s get building, champ!
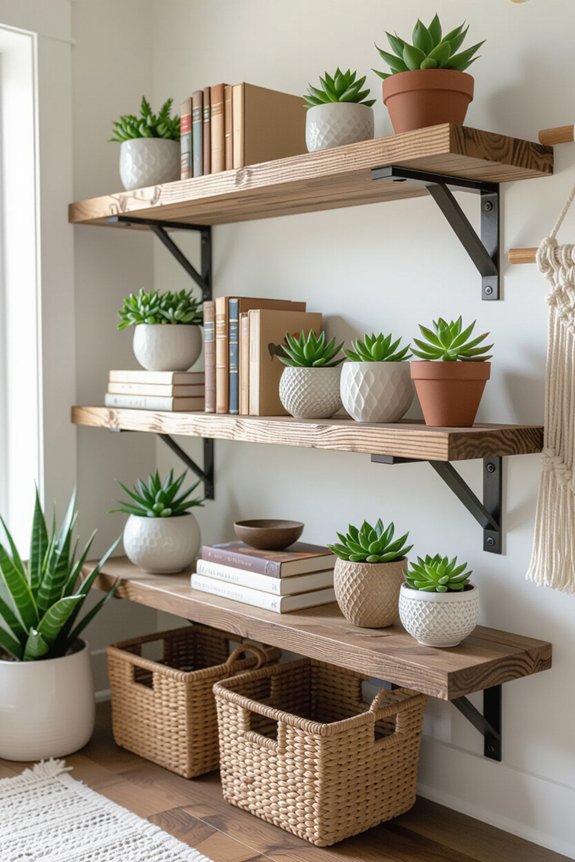
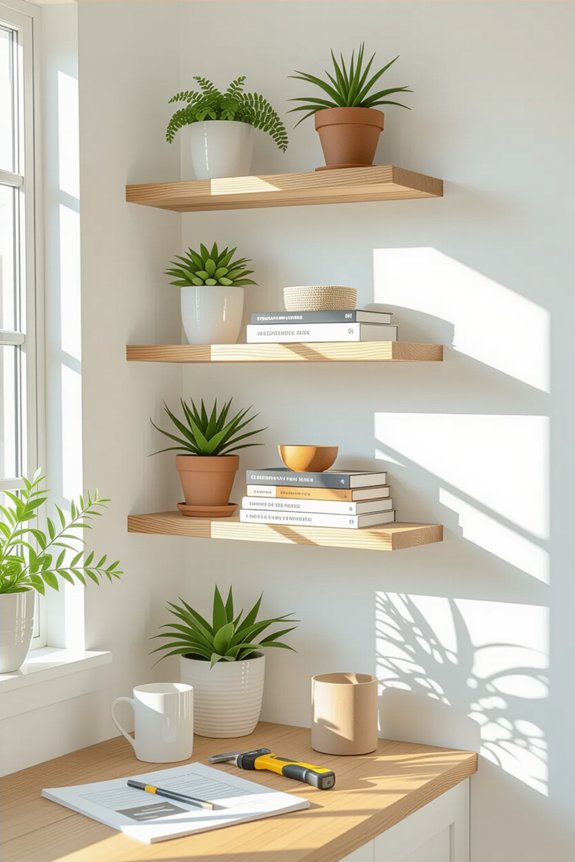
Build Rustic Wooden Shelves: A Step-by-Step Guide

Now that you’ve got your tools ready, let’s jump into building those rustic wooden shelves! You’ll love how easy it is to add charm to your space.
Here’s a quick guide to get you started:
- Choose your wood: Reclaimed or new, it’s up to you!
- Cut to size: Measure carefully, because nobody likes a wobbly shelf.
- Sand it down: Smooth edges make everything safer and prettier.
- Stain or paint: Go for a natural look or add a splash of color.
- Install brackets: Secure them well; you want your shelves to hold all your treasures!
With each step, you’re one step closer to your cozy, rustic haven. Let’s get building!
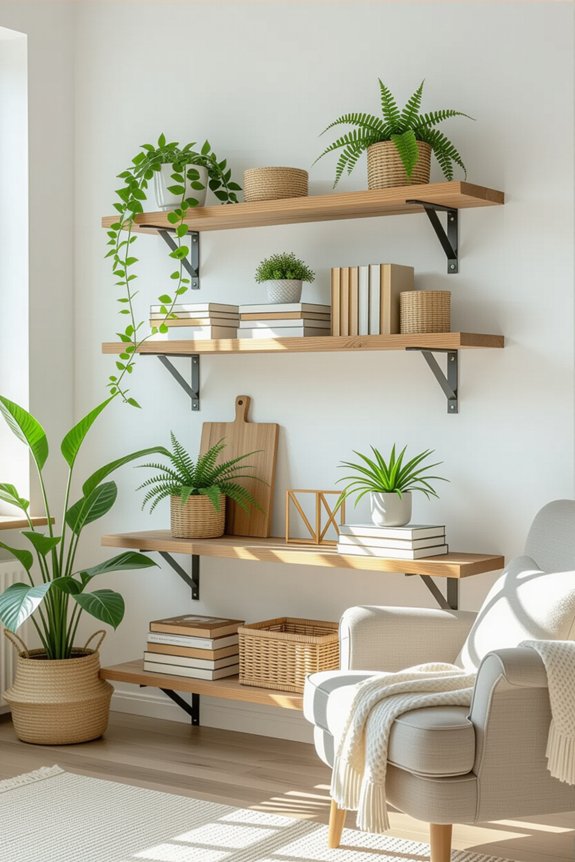
Creating Sleek Modern DIY Shelves
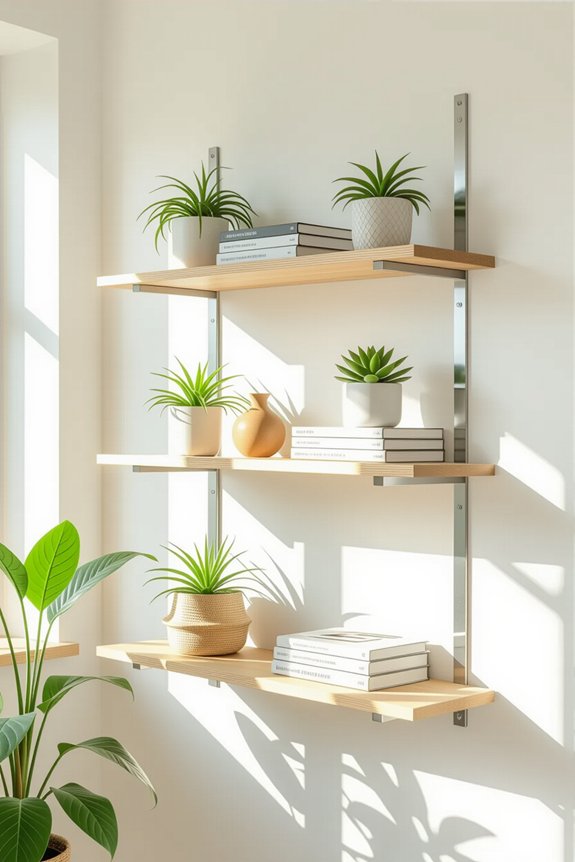
Creating sleek modern DIY shelves can transform any room into a stylish haven, so let’s dive right in! First, choose materials like plywood or metal brackets for a contemporary look. Keep designs minimalistic; straight lines and open spaces will work wonders. Don’t forget to paint or stain them in neutral colors to match your decor.
Here’s a quick table to inspire your design:
| Material | Color | Size (inches) |
|---|---|---|
| Plywood | White | 24 x 12 |
| Metal Bracket | Black | 36 x 10 |
| Wood | Natural | 48 x 8 |
| Glass | Clear | 30 x 10 |
| MDF | Grey | 60 x 12 |
With these tips, you’ll create shelves that are not just functional but also fabulous!
Upcycling Furniture for DIY Shelving Projects
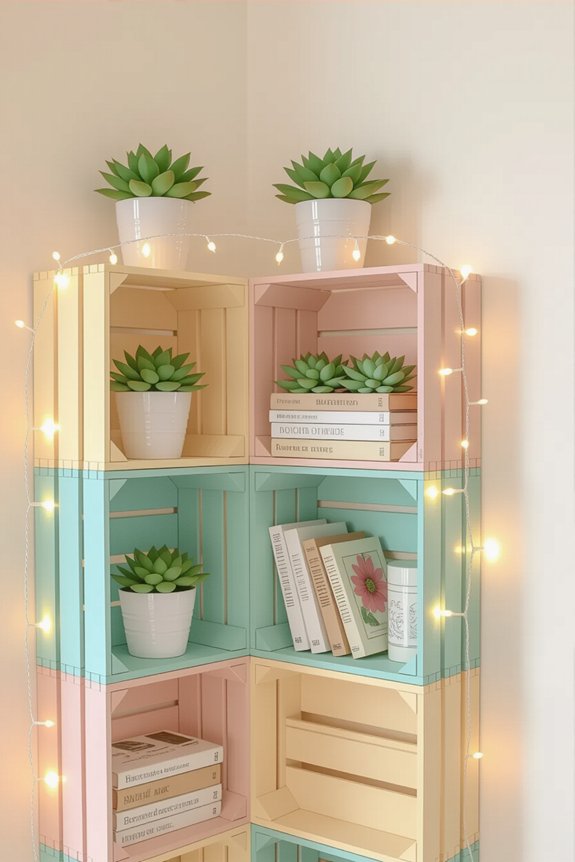
Sometimes, the best shelving ideas come from furniture that’s just sitting around, waiting for a new purpose! Upcycling old pieces can be a fun and creative way to get that stylish shelf you’ve always wanted. You might be surprised at what you can transform. Here are some ideas to get you started:
- Old wooden crates: Stack and paint them for rustic charm.
- An unused ladder: Lean it against a wall and add some books.
- A vintage dresser: Remove drawers and use the top for display.
- Pallet wood: Cut and shape it into unique shelves.
- Old doors: Hang them horizontally for a quirky look.
With a little imagination, you can breathe new life into your space!
How to Install Your DIY Shelves
Installing your DIY shelves can feel like an adventure, and the best part? You’re about to create something amazing! Start by gathering your tools: a level, drill, and screws. Make sure you’ve measured where you want your shelves to go. A little tip? Always double-check your measurements before drilling—trust me, it saves time!
Next, mark your spots on the wall. If you’re using brackets, attach those first. The level will help keep everything straight, so no one will notice if you accidentally sang while working! Now it’s time to secure your shelves. Once they’re up, step back and admire your handiwork. You did it! Your space just got a stylish upgrade, and you can be proud of every inch.
How to Care for and Maintain Your DIY Shelves?
Caring for and maintaining your DIY shelves is just as important as the fun of building them! Keeping them in great shape guarantees they last and look fabulous. Here are some easy tips to help you:
- Dust regularly to keep them looking fresh.
- Check for loose screws or brackets every few months.
- Avoid overloading; make sure they can hold the weight safely.
- Wipe spills immediately to prevent damage or staining.
- Use coasters or mats for delicate items to protect the surface.
With these simple steps, your shelves will stay beautiful and functional! Plus, it’s a fun way to show off your hard work. You’ll feel proud every time you see them shining bright!
Frequently Asked Questions
What Types of Materials Can I Use for DIY Shelving?
You can use materials like wood, metal, or acrylic for DIY shelving. Think of it like piecing together a puzzle; each material fits uniquely into your design, making your shelves functional and visually appealing.
How Do I Choose the Right Shelf Height?
To choose the right shelf height, consider what you’ll store. For books, aim for 12–15 inches between shelves. If you’re displaying decor, 10–12 inches works well. Always adjust based on your space and needs.
Can I Paint or Stain My DIY Shelves?
Think of your shelves as a canvas. Yes, you can absolutely paint or stain your DIY shelves! Choose colors or finishes that reflect your style, and watch your space transform into a vibrant masterpiece.
What Are Some Stylish Shelf Styling Tips?
Mix textures and heights for visual interest. Use books, plants, and personal items to create depth. Group items in odd numbers, and don’t overcrowd—let each piece shine. Finally, incorporate artwork or photos for a personal touch.
How Do I Remove Old Shelves Without Damaging the Wall?
Carefully cut around the screws, then gently pry the shelf away from the wall. You’ll want to avoid yanking or pulling too hard, since that might damage the drywall or leave unsightly marks behind.